Showing posts with label Displays. Show all posts

Tuesday, November 5, 2024

Boost Holiday Sales with Point-of-Sale Treats


With the holiday season approaching, shoppers will come to your store in search of the perfect gifts. To enhance their shopping experience and boost your sales, consider optimizing your point of sale (POS) strategy. A simple yet effective tactic is to offer small, enticing items right at the checkout counter. 


Photo credits (from left): Bruce’s Candy Kitchen, Marie’s Candies

A sleeve of beautifully decorated chocolate-covered sandwich cookies or a charming little bag of foil-wrapped chocolates can easily be added to a customer's purchase. Presenting small, eye-catching treats by the register, perhaps tied with a festive bow or ribbon, creates a visually appealing display that encourages impulse buys. This not only enhances the shopping experience but also prompts customers to treat themselves or grab a quick gift.

Positioning and Pricing for Success

To make this strategy effective, consider the placement and pricing of your POS items. Items should be easily visible and within arm's reach of customers as they wait in line. Keep the price reasonable—around $3 to $5—so customers feel comfortable adding these small extras to their purchase.

Highlight Seasonal Favorites

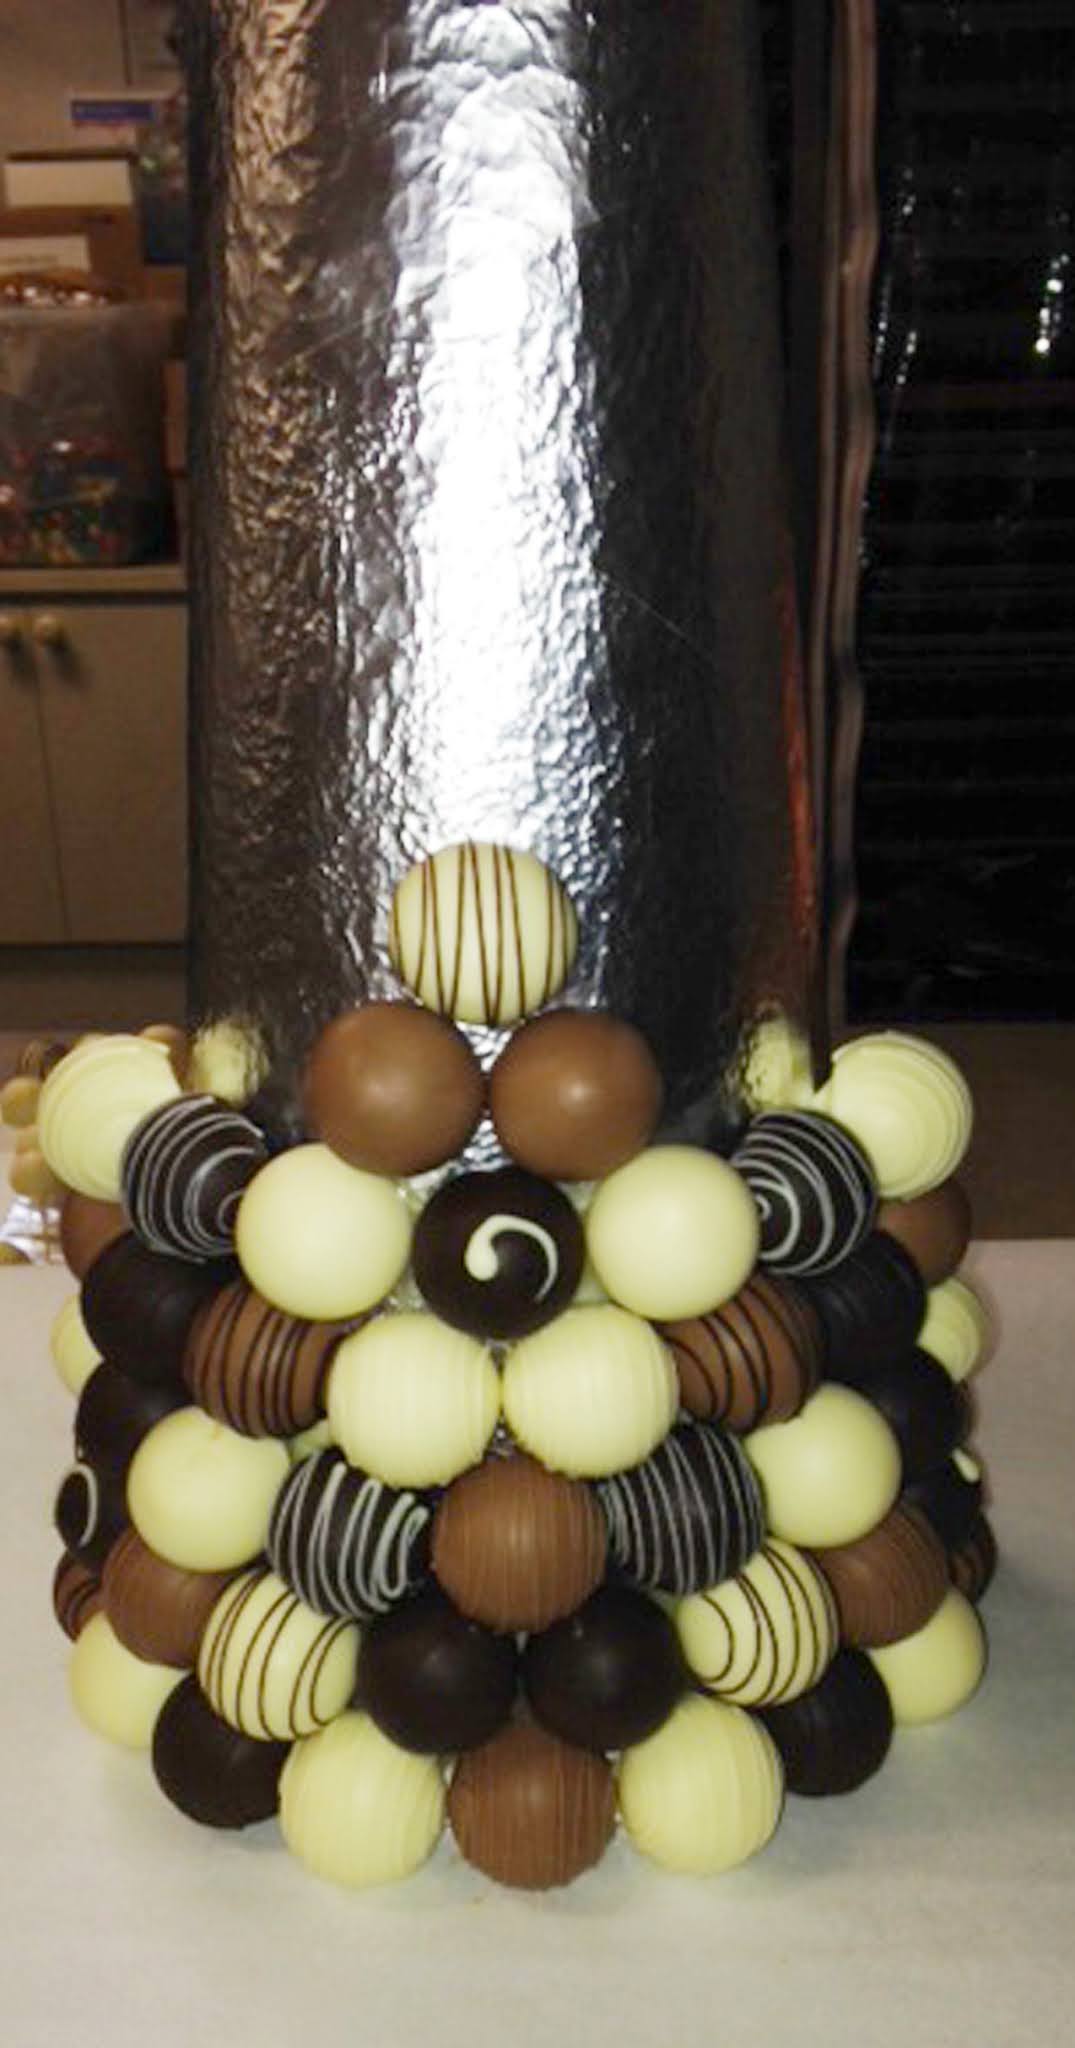
Offering seasonal items can add to the holiday spirit and draw customers in. For instance, a pair of holiday-themed chocolate truffles or a square of peppermint bark can create a festive atmosphere and resonate with customers looking for something special.

Encourage Shoppers to Treat Themselves

A small sign saying something like, “You deserve a treat!” can remind shoppers to enjoy a little pick-me-up. After a long day of holiday shopping, many people appreciate a small indulgence.

Before the holiday rush, take a look at your checkout area. Make sure it’s stocked with fun, affordable items that make great little gifts or quick treats. By adding these festive extras, you can increase sales and make your customers’ holiday shopping experience more enjoyable.

Crave more? Click here to subscribe and start receiving weekly tips, like this, delivered straight to your email inbox. RCI's blog is just one of the many resources we offer to help candy makers refine their craft and build upon their business and marketing practices. Follow us on Facebook for even more sweet inspiration.

Not a member? Click here to learn how RCI can help you build your sweet business.

Tuesday, November 1, 2022

Merchandising Tips for Candy Shops: 11 Quick Tips for Maximum Impact


This week’s post is a must read for candy retailers looking for a merchandising refresh as holiday shopping and festivities begin to pick up speed. Past RCI President Adele Malley and founder of Malley’s School of Merchandising shares expert merchandising quick tips designed to sell more product and maximize your retail space.

  1. Go up, use the air. Make each column of boxes higher than ever before, however, do not display every collection in columns—it is boring.
  2. Break up displays by arranging the boxes differently. Plan for low stacks; vertical boxes sloping next to each other; boxes leaning against the high stacks of the same kind and size; put a strong twist on boxes.
  3. Place gift bags in a stand or container to give them more stability.
  4. Arrange boxes, around or off-center, from a sample box or picture.
  5. Present a jumble of smaller, same content boxes in a massive bowl with low sides. The bowl will add depth, dimensions, and the juxtaposition of round versus boxes adds fun and eye interest.
  6. Intermix different size boxes, for example, half-pound boxes with one-pound boxes, to prevent needing a dedicated space for each.
  7. If displayed items have the dual purpose of showing and selling, make a run of the look by using two or three boxes as backing for the two or three leaning small boxes placed in front. The expanse will tempt the eye; it will be attractive and very sellable. In front of those boxes, if room, slope boxes on each other for easy selecting.
  8. Breakup expanses of horizontal views to interest the eye and increase storage and display space. Go up!
  9. Use shelving to get additional vertical height. One deep shelf will help and can be effective in a short section.
  10. Create bump-outs to help relieve the eye and create drama. Create a simple, custom display table by cutting a wooden board into a quarter of a half-circle and attach table legs.
  11. Use cake stands to create elevation in displays. Display a box sample sitting on one or two actual wrapped boxes. The tabletop below surrounds with boxes.

Recreate this look: Give boxes in a column a slight twist and make them easier to pick up. Decide how to use the display. Copy the setup as shown; stretch out the whole presentation or take ideas from it. The round frame, being a different shape, calls attention to itself and brings softness in contrast to the hard box edges.

If you are used to nice and neat stacks of product and clean rows, these tips may seem counterintuitive to you. Adele explained during a Candy Clinic presentation on merchandising that sometimes techniques that look too neat and orderly can actually deter interested buyers, because they don’t want to disrupt the display. Adele recommends giving boxes a “strong twist” makes them easier to pick up and more inviting to shoppers.

We love that most of these quick tips could be easily incorporated into your retail display today. You could start by incorporating one tip at a time and easily have a totally refreshed retail space in no time at all! Consider devoting some time to watching customers shop your refreshed displays. Involve your staff, by asking their opinions of the changes and to make note of customer behaviors to observe their effectiveness. We’d love to hear what tips you’ve incorporated into your retail space and how well they’ve worked for you on Facebook, by sharing and tagging us @retailconfectioners.

Crave more? Click here to subscribe and start receiving weekly tips, like this, delivered straight to your email inbox. RCI's blog is just one of the many resources we offer to help candy makers refine their craft and build upon their business and marketing practices. Follow us on Facebook for even more sweet inspiration.

Not a member? Click here to learn how RCI can help you build your sweet business.

Tuesday, May 24, 2022

Retail Therapy: Leverage This Store Layout to Capture More Sales


In this five-week series, retail strategists and instructors at RCI’s Merchandising Boot Camp, Rich Kizer and Georganne Bender, of
KIZER & BENDER, share important areas of your retail space that can either set your business up for sales success or failure. This week we’re covering another variation to the store layout which Kizer and Bender like to refer to as “Lake Front Property.” Learn if this approach applies to your store layout and what to display in this space to capture more sales.

Ninety percent of people enter a store and look or turn to the right. This space is prime real estate, otherwise known to as “Lake Front Property.” Too many retailers use this area as just another space to house merchandise, or worse, it’s where you find the checkout counter (ideally, the checkout belongs in the center or on the left side of the store, at the natural end of the shopping experience). If the front right does not work for your sales floor just reverse the flow, making the left side your lake front property.

Use your lake front property to feature new items; tell product stories and display high-demand, high-profit items. Kizer and Bender recommend changing this display frequently to keep your sales floor fresh.

Stay tuned for more retail therapy next week to learn about a sales tactic known as a “speed bump” and how it can set the tone of your whole store.

Crave more? Click here to subscribe and start receiving weekly tips, like this, delivered straight to your email inbox. RCI's blog is just one of the many resources we offer to help candy makers refine their craft and build upon their business and marketing practices. Follow us on Facebook for even more sweet inspiration.

Not a member? Click here to learn how RCI can help you build your sweet business.

Tuesday, May 17, 2022

Retail Therapy: Maximize your Free-Flow Layout

In this five-week series, retail strategists and instructors at RCI’s Merchandising Boot Camp, Rich Kizer and Georganne Bender, of KIZER & BENDER, share important areas of your retail space that can either set your business up for sales success or failure. This week we’re covering an important consideration for maximizing the free-flow store layout.

Once shoppers are on your sales floor, where they go is up to you. If you are like most independent retailers, you probably utilize a free-flow layout, because it offers you unlimited opportunities to highlight merchandise and create display vignettes.

A free-flow layout has no set aisles so shoppers roam the sales floor freely, guided by how you plan the fixtures. When arranging fixtures, avoid straight lines when you can. Instead angle your fixtures so shoppers are unconsciously directed through the store. The more they see, the more opportunity they have to buy.

Stay tuned for more retail therapy next week, when we’ll share KIZER & BENDER’s tips for maximizing a “lake front property” store layout.

Crave more? Click here to subscribe and start receiving weekly tips, like this, delivered straight to your email inbox. RCI's blog is just one of the many resources we offer to help candy makers refine their craft and build upon their business and marketing practices. Follow us on Facebook for even more sweet inspiration.

Not a member? Click here to learn how RCI can help you build your sweet business.

Tuesday, March 2, 2021

How to Create a Faux Chocolate Bunny for your Easter Display

If you’re looking to create an impressive holiday display in your candy shop, many would agree large moulded chocolates make great showpieces. However, working with chocolate as your medium certainly presents enough challenges to cause you to look for another subject to be the center of attention. Whether for fear of the potential effects of exposure to sunlight, humidity, curious customers, or ____________ (you fill in the blank), you may have decided long ago that even a sprightly, three-foot-tall chocolate bunny in all its glory is not worth the investment of time and resources every year, especially leading up to a busy holiday. 

This week’s tip will allow you to deliver the same impact only a large chocolate Easter bunny could, but with eventually the same effort as takes to do some light dusting. Simply follow the steps below to create a chocolate look-alike Easter bunny (or turkey, life-size football, snowman, Santa, etc.) out of Plaster of Paris.

Step-By-Step Instructions for Chocolate Bunny Look-Alike
By RCI member, Marie’s Candies of West Liberty, Ohio

Marie's Candies has made plaster Easter bunnies so realistic, it's hard to tell the difference.

Materials needed:


  • Plaster of Paris
  • Mixing bowl
  • Popsicle stick (or other mixing utensil)
  • Access to water
  • Brown acrylic paint or spray paint
  • Paint brush
  • Glue gun (optional)
  • Icing eyes (optional)

Instructions:

  1. Make sure your favorite chocolate bunny mould is clean. The great thing about using moulds you already have is the Easter bunny in your display will look just like the real chocolate bunnies you want to sell.
  2. Follow the mixing instructions on a package of Plaster of Paris.
  3.  Wet the inside of the mould, so the Easter bunny can be removed easily. Fill the mould a quarter at a time, tapping it to remove air.
  4. Remove the bunny from the mould after one hour and let it dry for 24 hours.
  5. Wash the mould and any other tools immediately after use.
  6. Once the bunny is dry, use spray paint or a brush to paint it chocolate brown.
  7. Use a glue gun to add icing eyes (optional).

After following these simple steps, you will have an impressive moulded chocolate so realistic, you’ll want to display it year after year! As far as we can tell, the only downside here is that you might have to perform a lick test if you get your look-alikes mixed up with actual chocolate. Have your real moulded chocolate displays ever met their untimely demise due to curious customers or exposure to the elements? Share your story in the comments below.

Crave more? If you like what you read here, look for the "Subscribe now" box on the right to enter your email address and start receiving weekly tips, like this, delivered straight to your email inbox. RCI's blog is just one of the many resources we offer to help candy makers refine their craft and build upon their business and marketing practices. Follow us on Facebook for even more sweet inspiration.

Not a member? Click here to learn how RCI can help you build your sweet business.

Tuesday, January 26, 2021

Make your Retail Display Pop this Valentine's Day with a Giant Heart-Shaped Chocolate Box

Pictured: Heart Balloon Mosaic™, The Creative Heart Studio

Looking to make your retail display pop this Valentine’s Day? There’s no doubt a giant heart-shaped box of chocolates, like the one pictured above, will turn heads and even inspire some shopper selfies. But the best part is, you can make it yourself! We first introduced this fun idea for Valentine's Day last year, but want to bring it back because we love it so much!

With the following materials, you're sure to melt the hearts of all who enter your retail shop and follow you on social media (since you’ll definitely want to post this beauty on all your social media platforms).

MATERIALS
  • (2) 40” x 60” Foam boards
  • (13-15) 11” Brown balloons
  • 12” x 18” Sheets of craft foam for decorations
  • Balloon pump
  • X-ACTO knife
  • Scissors
  • Metal ruler
  • Cutting mat
  • Hot glue gun (low temperature setting for balloons)
  • Glue sticks
DIGITAL TEMPLATE FOR HEART-SHAPED CHOCOLATE BOX
Get crafty, no matter your skill level, with a free video tutorial and digital template for the "Heart Balloon Mosaic™" (pictured above) at thecreativeheartstudio.comLilly Jimenez is the founder of The Creative Heart Studio, creator of Balloon Mosaic™ and a finalist on NBC’s craft competition show, Making It.

    SHOW US YOUR VALENTINE'S DAY DISPLAY
    We want to see your Valentine’s Day displays in your retail shop. Share photos on RCI’s Facebook page at Facebook.com/RetailConfectioners.

    Crave more? If you like what you read here, look for the "Subscribe now" box on the right to enter your email address and start receiving weekly tips, like this, delivered straight to your email inbox. RCI's Tip of the Week blog is just one of the many resources we offer to help candy makers refine their craft and build upon their business and marketing practices. Follow us on Facebook for even more sweet inspiration.

    Not a member? Click here to learn how RCI can help you build your sweet business.

    Tuesday, November 17, 2020

    How to Build a Truffle Tree

    A truffle tree is an eye-catching way for your customers to serve truffles to a large group, in addition to an impressive merchandising display for your retail shop. It is a big-ticket item that can add nice revenue to your store’s sales. With a little advance planning, building the tree can be relatively easy to execute.

    Here you will find a list of materials needed and step-by-step instructions from RCI member, Annedore's Fine Chocolates, for creating this showpiece.

    For ease of construction, undipped ganache balls may be stored in the freezer. Simply follow the instructions below for thawing and dipping the ganache balls and you are ready to build a tree on demand.

    Materials Needed

    • Truffles (see recipes below)
    • Silicone mats
    • Plastic wrap
    • Foam block
    • Parchment paper or aluminum foil (optional)
    • Round toothpicks
    • Tempered chocolate
    • Foam cone
    • Wrapping paper or fabric (preferably coordinating with the color of your truffles)
    • Flathead pins
    • Scissors
    • Ribbon or tree topper (optional)

    Step-By-Step Instructions

    Prepare truffle centers using your favorite ganache recipe. Pipe ganache onto silicone mats. Cover the mats with plastic wrap and refrigerate for 12 hours. Transfer mats to the freezer for 12 hours. Remove mats from the freezer and pop out ganache balls (Note: Ganache centers may be returned to the freezer for future use). Cover balls with plastic wrap and allow them to come to room temperature.

    Cover a foam block with parchment paper or aluminum foil, so it can be reused. Adhere a toothpick into each ganache ball by dipping one end of the toothpick into tempered chocolate and then inserting that end into the center of the flat side of the ganache ball. Allow toothpick to set up firmly in the ganache ball.

    Once the toothpick is firmly set in the ganache ball you are ready to dip each ganache ball in tempered chocolate. Dip each ball carefully and then insert tooth-picked end of the ball into the block of foam. This will allow for perfect-looking, uniform truffles to create your truffle tree. Allow chocolate to set up. Truffles may be decorated while standing in the block of foam.

    Before you begin to build your tree, first, wrap the foam cone completely with wrapping paper or fabric – secure with flathead pins, as needed.

    Beginning at the bottom of the cone, push the tooth-picked truffles into the cone working your way around the cone to create the first row. On the second row, stagger the truffles by placing them in the open spaces created by the first row. Carefully work your way up the cone row by row until the entire cone is covered in truffles. Toothpicks may need to be cut as you reach the top of the cone. 

    Crown the top of your tree by inserting a tooth-picked truffle vertically on the top of the cone. Experiment with different tree toppers, such as a large bow or a chocolate initial or number (birthday idea). Use your imagination. 

    Once complete, stop and admire your beautiful work…then, take a photo and post it on social media for a sneak peek of what you’ve been working on. Here’s wishing you a spectacular holiday season ahead!

    Crave more? If you like what you read here, look for the "Subscribe now" box on the right to enter your email address and start receiving weekly tips, like this, delivered straight to your email inbox. RCI's Tip of the Week blog is just one of the many resources we offer to help candy makers refine their craft and build upon their business and marketing practices. Follow us on Facebook for even more sweet inspiration.

    Not a member? Click here to learn how RCI can help you build your sweet business.

    Tuesday, June 23, 2020

    Trend Alert: 5 Must Try Tie-Dye Ideas

    Whether you like it or not, tie-dye is one of the biggest fashion trends of 2020—no doubt thanks to quarantined DIYers looking to pass time and upcycle their wardrobes.

    Oftentimes popular fashion trends find their way into other industries. With all the fun, bright colors and happy vibes it creates, we think the tie-dye trend is a perfect fit for the candy industry. If you’re looking to jump on this psychedelic bandwagon, keep reading for five must-try tie-dye ideas. 

    Tie-Dye S’mores

    Tie-dye + s’mores! Does it get any better than this? Whip up a batch of these colorful and gooey marshmallows and dare your customers NOT to plaster photos of them all over social media! They won’t be able to resist! Click here for a tutorial from Studio DIY.

    Tie-Dye Chocolate Bars

    Create yummy swirls of color on a chocolate bar, then take it a step further by embellishing it with a fun, little moulded chocolate piece—like this ice cream cone—and lots of sprinkles.

    Tie-Dye Moulded Chocolates

    You don’t even have to like tie-dye to love this colorful bunny! What other moulded chocolates would look great in tie dye? All of them!

    Tie-Dye Packaging

    What goes best with tie-dye? More tie-dye, of course! Complete your collection of tie-dye confections with equally psychedelic packaging. Contact MOD-PAC for more information about these tie-dye boxes.

    Tie-Dye Merchandise

    For the truest tie-dye enthusiasts, consider adding branded tie-die merch to your offerings, like these t-shirts from Asher's Chocolates.   

    In the world of tie-dye, the possibilities are seemingly endless! These are just a few of our favorite ways for your business to ride the tie-dye trend. Similar techniques could also be applied to chocolate-covered sandwich cookies, pretzelsfudge and more. What confections would you transform with tie dye? Share in the comments below.

    Crave more? If you like what you read here, look for the "Subscribe now" box on the right to enter your email address and start receiving weekly tips, like this, delivered straight to your email inbox. RCI's Tip of the Week blog is just one of the many resources we offer to help candy makers refine their craft and build upon their business and marketing practices.

    Not a member? Click here to learn how RCI can help you build your sweet business.

    Tuesday, February 21, 2017

    Tip # 222: Give Your Candy Shop the WOW! Factor on a Budget

    Photo via chickaniddy.com

    Spring is the perfect time to freshen up your merchandising displays. Save money by finding new uses for old items to create eye-popping displays with “wow factor!” Old ladders, tables, or wooden crates can make for unexpected and memorable ways to display your confections.

    Before you spend any money, take a look at items currently used in your store, tucked away in storage or even at your home that could be repurposed or upcycled with a fresh coat of paint. Next, visit a local flea market and use your imagination to search for anything that could be a vesicle to display your products.

    Take tips from RCI’s 2016 Merchandising Essentials course when seeking display pieces that help satisfy one or more of the following five design principles:

    1. Focal Point - Every display or category/department should have a focal point or a center of activity, interest or attention.

    Old windows can be reimagined to create a stunning focal point as a glass-enclosed display case. Photo property of re-store.org

    1. Balance (symmetrical or asymmetrical)Symmetrical balance is created by repeating the reverse of a design (or a mirror image) on the opposite side of the vertical axis. Symmetrical balance is considered formal, sophisticated and easy to visually digest. Asymmetrical balance is more informal, yet dynamic, achieving balance through contrast, using different elements that have equal weight.
    An open trunk or small suitcase can be repurposed into shelving to create the perfect opportunity for a symmetrical display. Check out remodelaholic.com for tutorial on how to create a bookshelf (pictured above) out of an antique trunk.
    Upcycle tired tables with vibrant paint to create an asymmetrical balance display, like the ones from resene.com pictured above.

    1. Pyramid Merchandising – This principle is achieved by creating a pyramid of product, with the top being the focal point that attracts attention. This is a very effective and foolproof merchandising technique.
     
    Here's an example of pyramid merchandising created by repurposing an old ladder as a shelf. Learn how to build your own by viewing a tutorial at lovegrowswild.com

    1. Repetition - Create a striking and clean display through the repetition of many of the same or similar products.
    The repetition of inexpensive, painted wooden crates used by chickaniddy.com makes an impact as a wall display. 
    1. Harmony – A pleasing combination or arrangement of different things will make your customer feel comfortable and at ease.
    These repurposed tables by The Painted Hinge and Gelbach Designs have been cut in half and mounted on the wall to create eye-pleasing and space-saving displays. Visit thepaintedhinge.com for a step-by-step tutorial.

    With an open mind and a little elbow grease, you can breathe new life into old furniture and flea market finds to create merchandising displays that will get your customers saying “WOW!” without breaking the bank.

    Stay connected with RCI through Facebook for more tips and inspiration dedicated to the retail candy maker. Not a member? Click here to learn how RCI can help you build your sweet business.

    Tuesday, January 31, 2017

    Tip # 219: From the Archives: Use Mass Displays


    Retailers have been using mass displays as a successful visual merchandising technique for many years. According to Chron.com, “mass displays group a large quantity of merchandise together in one place to attract attention to it.” You may see this technique used in grocery stores and in other retail settings today, because it attracts attention and can be used to create a sense of urgency. If you’ve been in the business for any length of time, creating a sense of urgency is important considering many shoppers will wait until the last-minute to purchase gifts for their loved ones.

    In 1960, RCI published an article written by Harry P. Cole, a sales associate for Paper Goods Company, featuring the surprising results this merchandising technique had on one of his retail clients.

    Use Mass Displays

    In making displays of your candy, both in the store and in your show windows, try using mass displays. Last February, one of our good roadside customers was unfortunate enough to have to go to the hospital and he was out for about five weeks starting January 15. The manager of this particular store, quite a smart, bright young lady, always wanted to make big displays of Valentine’s Day hearts. This was her opportunity. Instead of having hearts distributed all over the store in various places singly, she had large groups of them on tables. Each type was packed one on top of another with the top heart opened on a display stand to show the contents, prices and weight. Her boss was an old timer and when he came back shortly after Valentine’s Day and learned of the type of displays that were made, he started to raise the devil, but when he saw the figures he sang a different tune. The Valentine’s Day sales in that store were 20 percent over the previous year and the average in the area was only about a five percent increase.

    Since making their debut shortly after Christmas, your Valentine’s Day displays may have seen shoppers come and go for a little over a month. Consider making some space for a fresh, new, attention-grabbing display, grouping your inventory of beautiful heart-shaped boxes near the front of the store or near the register. Keep in mind, the location of a mass display is important. This merchandising technique will be much more successful in a highly visible area of your retail space. If your space or inventory doesn’t allow for a mass display this Valentine’s Day, it’s not too late to incorporate one into your Easter and Mother's Day. Here's wishing you a successful Valentine's Day! 

    Learn more about how to build your sweet business and help us celebrate our 100th anniversary at RCI's Annual Convention & Industry Expo in Chicagoland, Illinois June 12-16, 2017. Click here if you would like us to send you an email notification when registration opens. Not a member? Learn what makes membership with RCI so sweet!